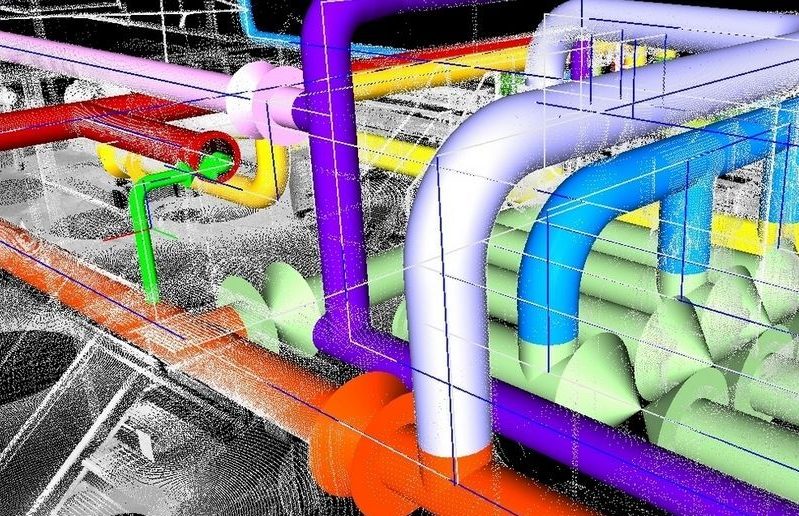
Laser scanning
Point cloud processing technology enables the accurate capture of data from the site visited. This method is faster and minimizes the possibility of errors inherent in traditional manual methods.
3D modeling and engineering
The point cloud allows to model equipments and installations directly in 3D over 360°. The accuracy of the model obtained facilitates engineering and modification activities by avoiding interference between equipment. Using Autocad Plant 3D software, it is possible to regenerate 3D models of piping, structures, etc. and assign standardized dimensional parameters to them. The intelligent P&ID tool allows the creation of isometric pipe drawings directly from the 3D models.
Storage tank analysis
It is possible to scan an 80 m diameter tank in one day with an accuracy of ±3 mm. The data obtained allows a multitude of types of analysis such as:
- Deformation, ovality & verticality of the ferrule
- Exact location of nozzles and accessories
- Tank subsidence («settlement»)
- Analysis of the volume of merlons
- Tank Calibration
Reverse engineering and prototyping
Laser technology allows the reverse engineering of parts, jigs and fixtures as well as the integration of field modifications into 3D models to produce as-built drawings. Modifications to prototypes can be quickly integrated into 3D models for structural analysis, ergonomics, interference, product packaging, etc.
Metrology
3D scanning is an excellent method for evaluating the conformity of manufactured/machined parts. This technique allows the dimensional attributes to be accurately collected and compared to the theoretical 3D model. Using special software and a color scale, a report can then be generated to determine if the part is compliant.

